RAG
Overview
Retrieval-augmented generation (RAG) is a technique used to improve the quality of LLM-generated responses by grounding the model on external sources of knowledge to supplement the LLM’s internal representation of information. RAG is particularly useful for reducing hallucinations and citing specific sources in business use cases. Using our Accelerator Block for RAG, you’ll receive a fully managed, production grade RAG service that can be set up in seconds.
If you want to learn more about RAG, check out our RAG 101 guide here.
Create an account and workspace
If you haven't already, go to gradient.ai, click sign up and create your account. Once you have verified your email, log in to the account. Click "Create New Workspace" and give it a name.
You can see your workspaces at any time by going to https://auth.gradient.ai/select-workspace.
Create a RAG and add files
You can use either the web UI or the SDK to create a RAG and add files to it.
Using the Gradient UI
Gradient allows you to easily drop in the data you want to use, and the RAG pipeline is automatically constructed behind the scenes.
-
Collect all the relevant documents you want your LLM to reference when generating a response.
-
Log into Gradient and select the workspace you want to use.
-
Select the “RAG Collections” tab in the left sidebar, then click the “Create” button. Each RAG Collection should include the full set of documents you want the LLM to reference during completions for a particular use case.
-
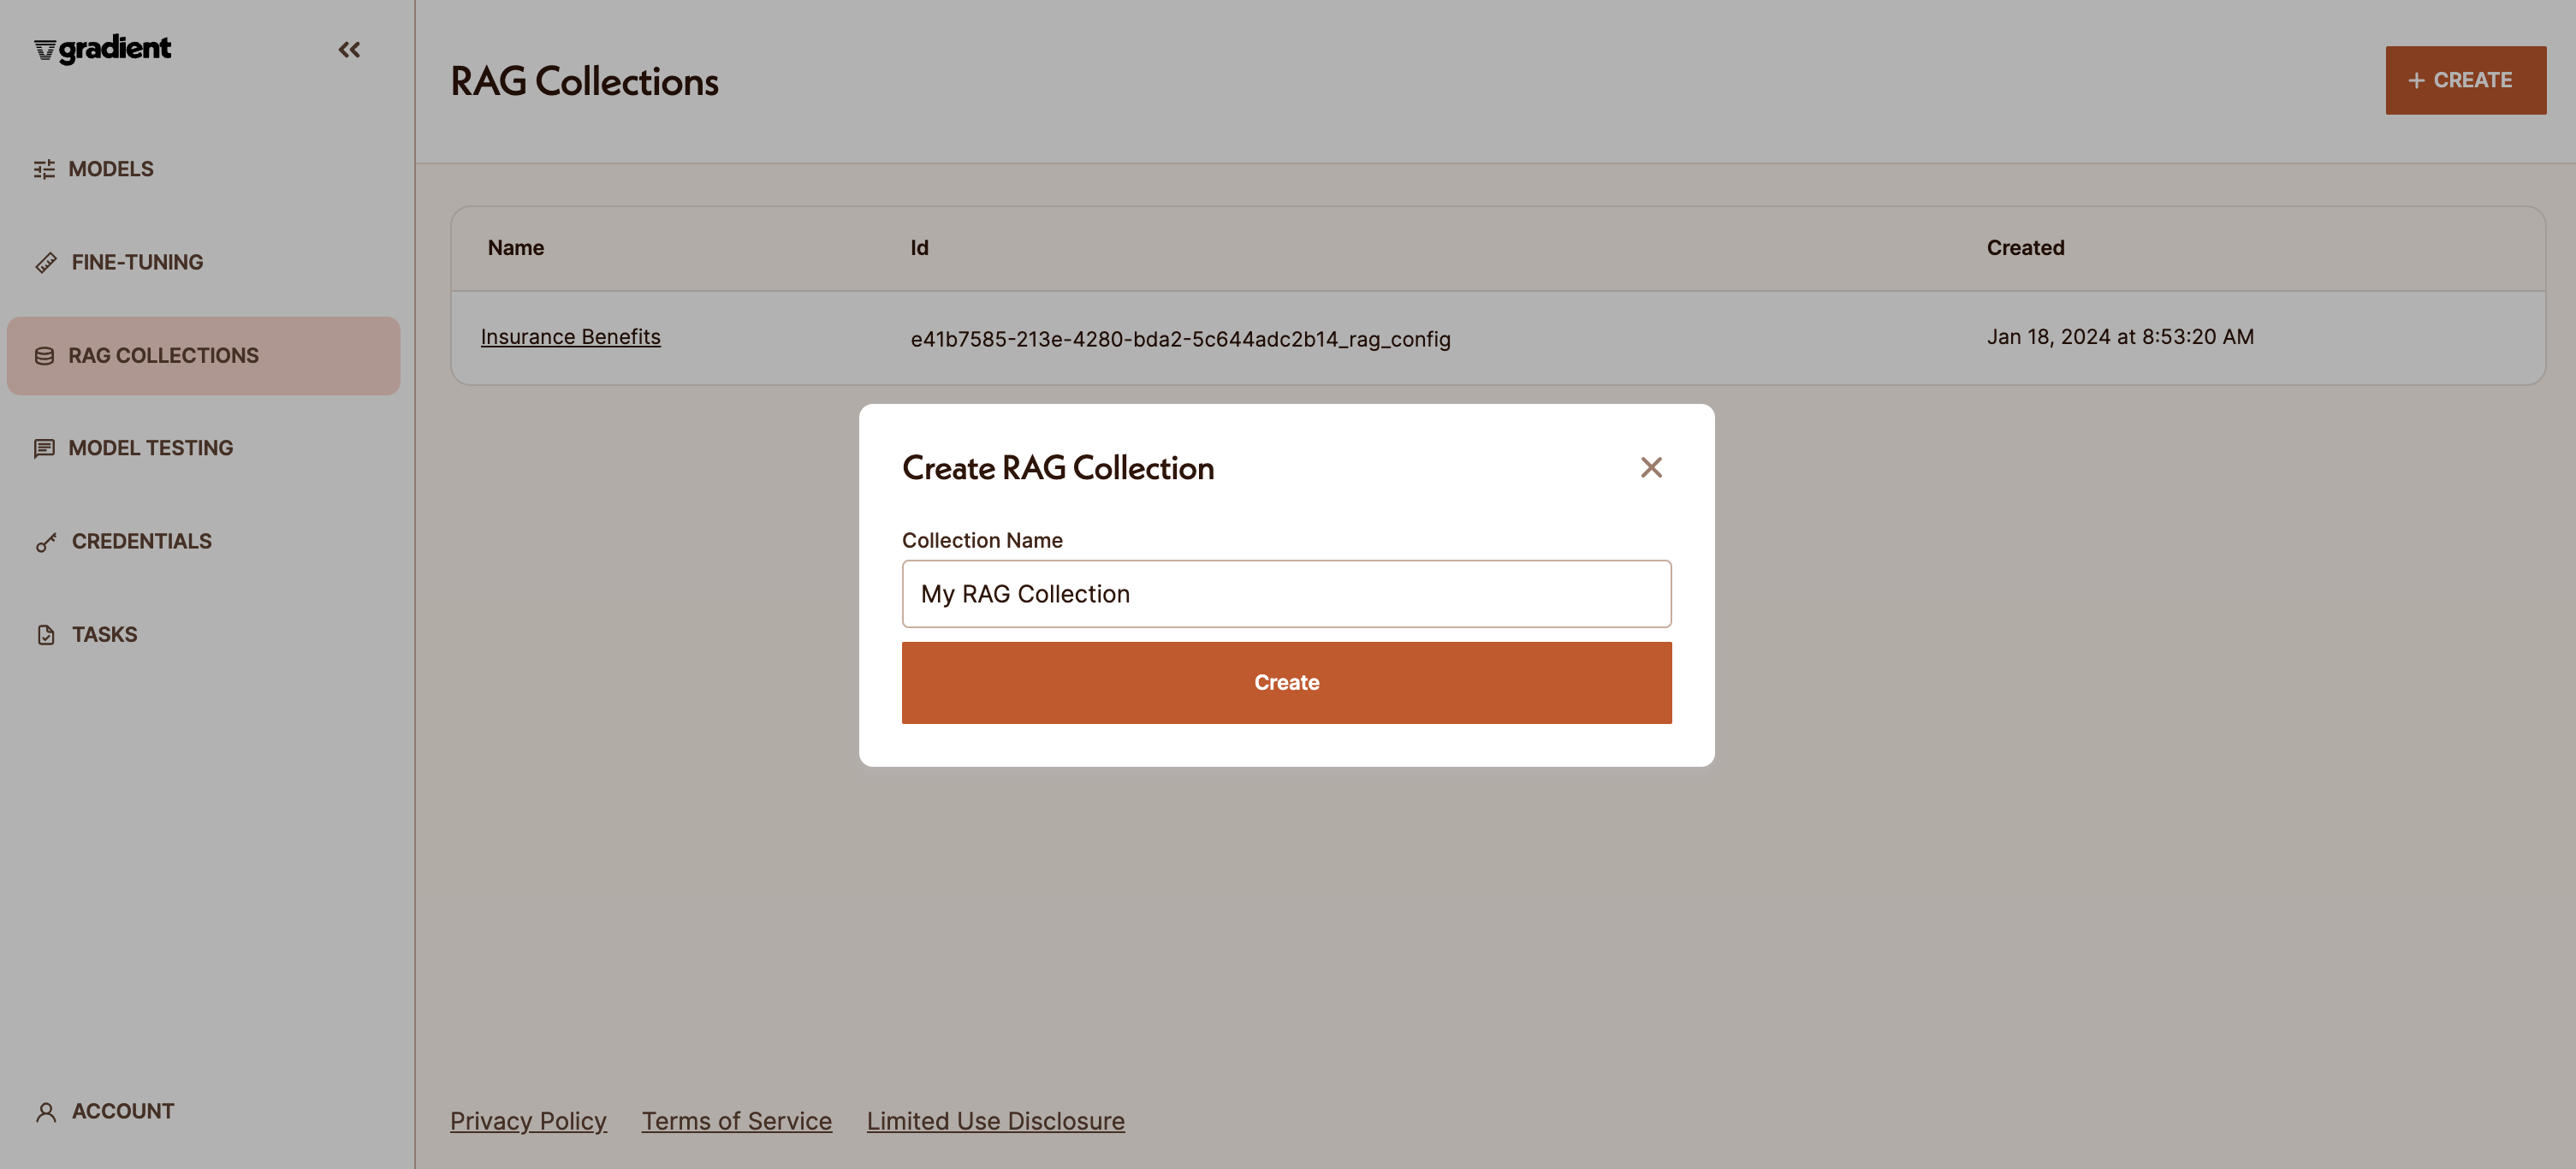
Name your RAG Collection and start adding files. Please ensure you keep your browser tab open while the files are uploading.

Once the files have been uploaded, they will be automatically chunked, embedded, and stored into a vector database behind the scenes for you. This process may take several minutes, so feel free to check back in a bit.
Using the SDK
The SDK is best suited for integrating RAG into your application or business workflow.
Reference our SDK Quickstart to get set up. From there, follow the steps below.
-
Create your RAG with an initial set of files. Once the files have been uploaded, they will be automatically chunked, embedded, and stored into a vector database behind the scenes for you. This process may take several minutes, so feel free to check back in a bit.
from gradientai import Gradient gradient = Gradient() rag_collection = gradient.create_rag_collection( name="RAG with two sample text files", slug="bge-large", filepaths=[ "samples/a.txt", "samples/b.txt", ], ) -
By default, your RAG will be chunked using NormalChunker with chunks of size 1024 and overlap of 20. You can choose another Chunker and specify chunking parameters by passing in a Chunker to create_rag_collection.
The current Chunker options are:- NormalChunker: Fixed length chunks with predetermined overlap.
- SentenceWithContextChunker: Keeps sentences together in chunks, while staying within chunk "size" limit. Stores "contextSentences" number of sentences around the chunk for extra context.
- MeaningBasedChunker: Each chunk is a group of sentences that are related in meaning, with chunk cutoffs based on "similiaryPercentThreshold". Similiarity is evaluated "sentenceGroupLength" sentences at a time.
- FileChunker: Chunks each input file based on its format. Handles plain text, JSON, Markdown, and HTML.
| Chunker | Parameters & Default Values | Meaning of parameter |
|---|---|---|
| NormalChunker | size (1024) overlap (20) | Token chunk size for each chunk Overlap of each chunk when splitting |
| SentenceWithContextChunker | size (1024) overlap (20) contextSentences (3) | Token chunk size for each chunk Overlap of each chunk when splitting Number of sentences on each side of a sentence to capture |
| MeaningBasedChunker | size (1024) overlap (20) sentenceGroupLength (1) similiarityPercentThreshold (95) | Token chunk size for each chunk Overlap of each chunk when splitting How many sentences are considered together The percent (cosine) similarity between two groups of sentences below which a new chunk is created |
| FileChunker | No parameters |
Sample code for SentenceWithContextChunker:
from gradientai import Gradient, SentenceWithContextChunker

gradient = Gradient()
custom_chunker = SentenceWithContextChunker(size=512, overlap=32, context_sentences=4)
# To use NormalChunker with different chunking parameters:
# simple_chunker = NormalChunker(size=2048, overlap=100)

rag_collection = gradient.create_rag_collection(
  name="RAG with chunking parameters specified",
  chunker=custom_chunker,
  slug="bge-large",
  filepaths=[
    "samples/1.txt"
  ],
)
- Follow the steps below to add additional files to your RAG
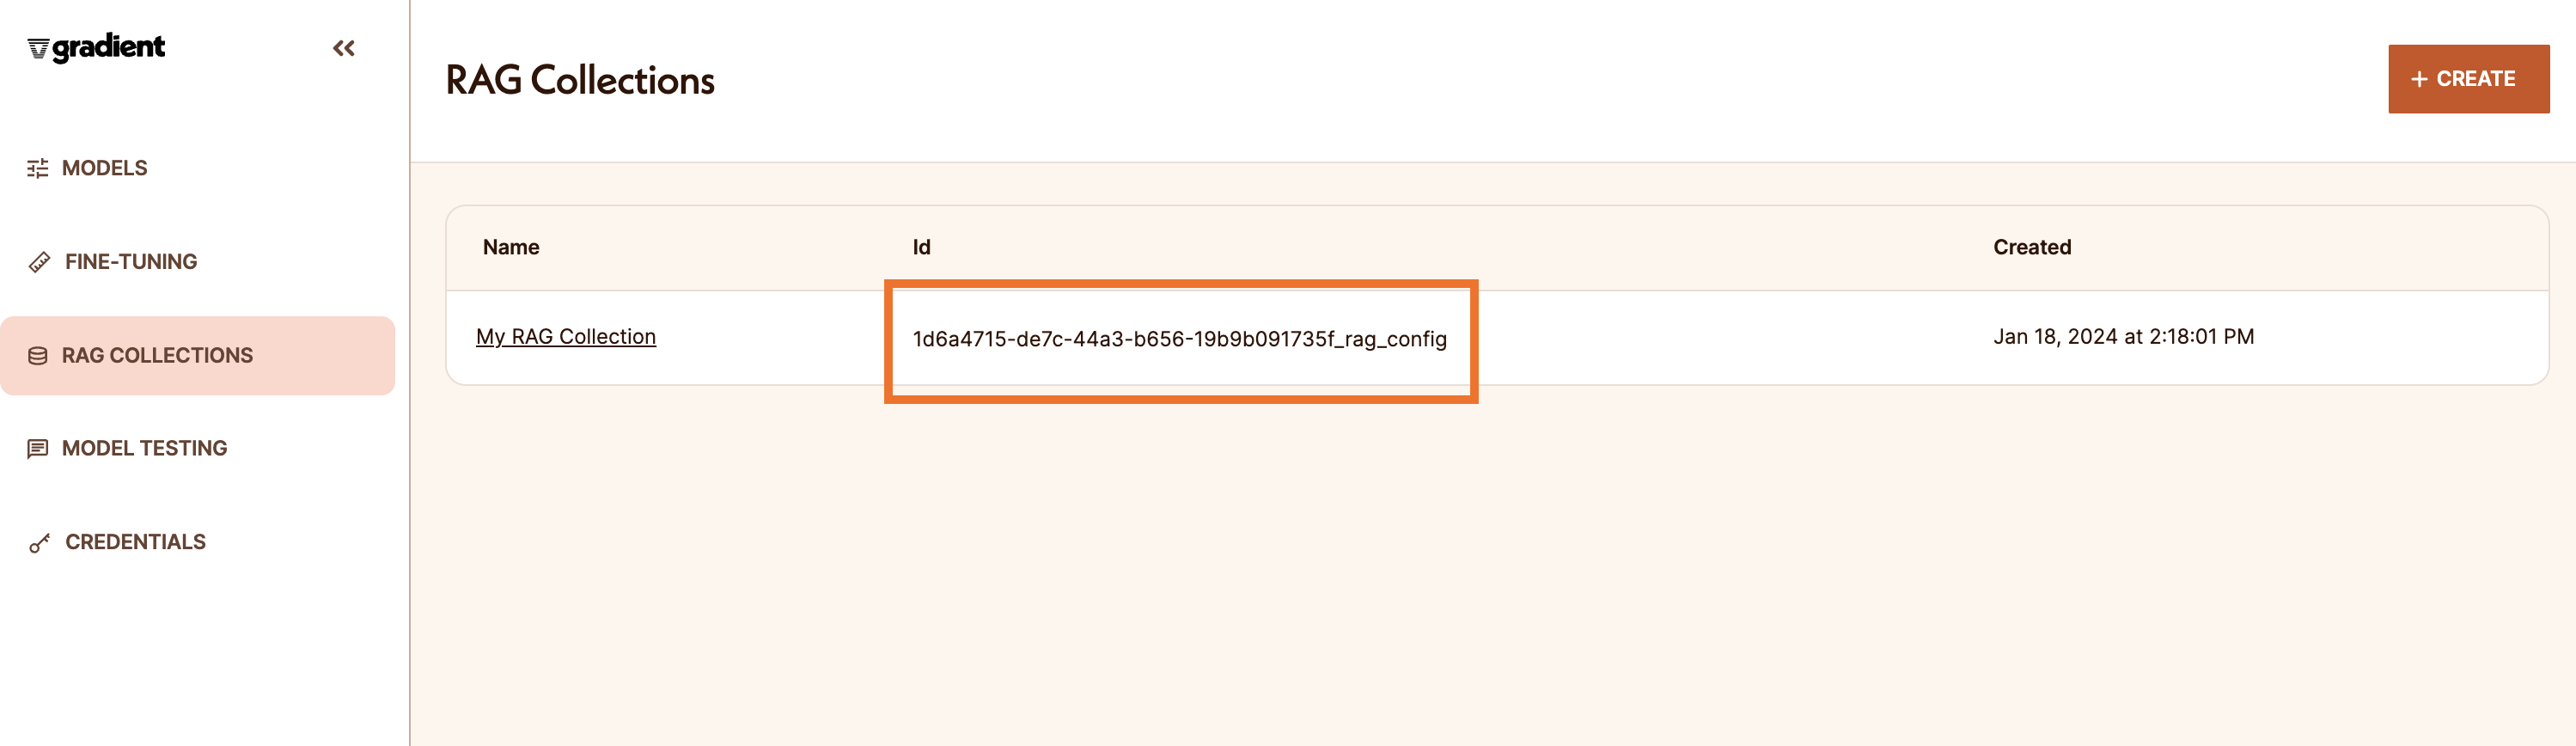
- You can find the ID on the “RAG Collections” tab in the Gradient UI. You will use this ID to reference the RAG in other parts of the Gradient API, SDK, or CLI.
- Use the code snippet to add more files to your existing RAG.
from gradientai import Gradient

gradient = Gradient()

rag_id = "12345678-abcd-ef01-1234-9876543210ab_rag_config"
rag_collection = gradient.get_rag_collection(id_=rag_id)

rag_collection.add_files(filepaths = ["docs/one.txt", "docs/two.txt"])
Use your RAG for completions
Once your RAG Collection is set up, you can reference the RAG when running completions using Gradient.
Using the SDK
When using the SDK for completions, simply select and pass in the ID of the RAG collection you want the LLM to reference for that completion request.
Note that you can find the ID on the “RAG Collections” tab in the Gradient UI.
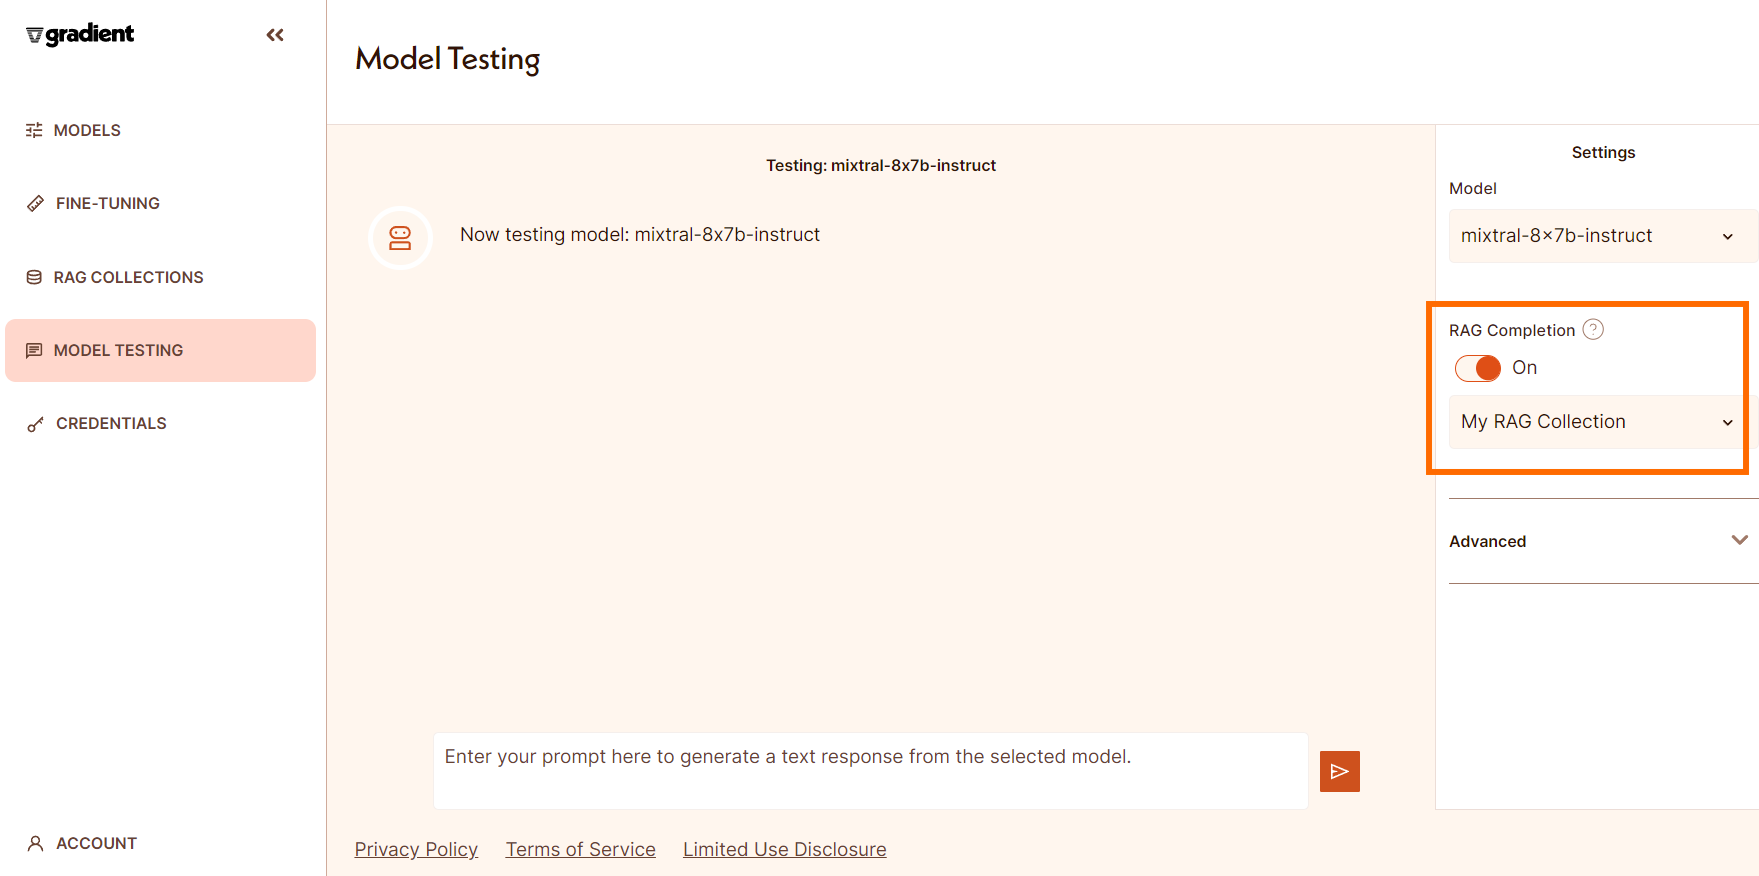
Using the "Model Testing" tab
You can also easily try out your new RAG Collection in the "Model Testing" tab. Simply toggle on RAG in the settings and select the name of the RAG Collection to use.
Updated 23 days ago